Installation Guide for Artificial Landscape Grass
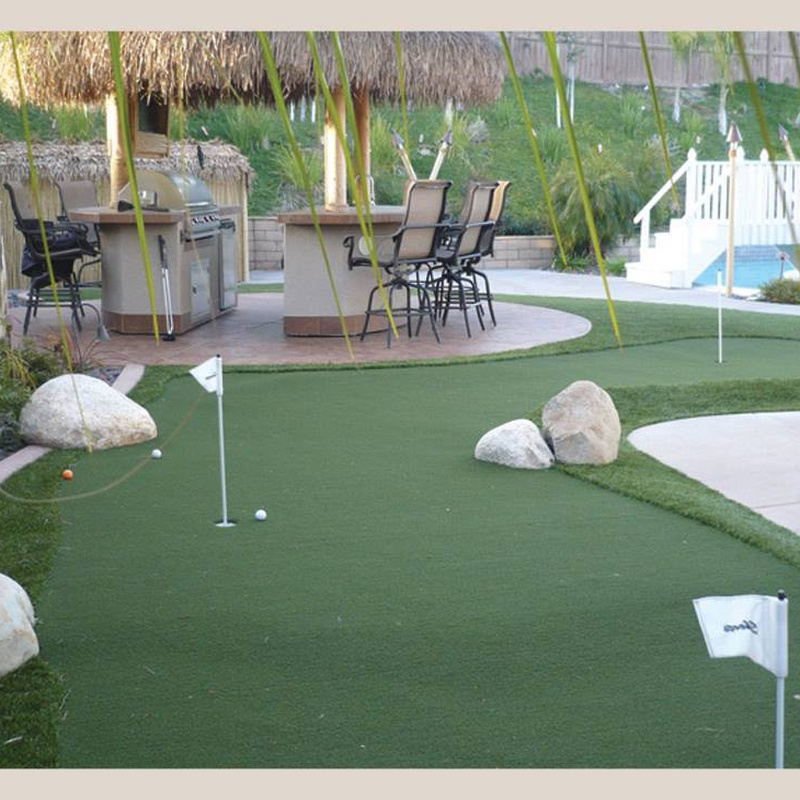
Create a beautiful, low-maintenance outdoor space in just a few easy steps.
Step 1: Site Preparation
Clear the area by removing existing grass, weeds, and debris.
Excavate to a depth of 7 to 10 cm and compact the soil to form a solid foundation.
Step 2: Lay the Base Layer
Add a layer of crushed stone or gravel approximately 5 to 8 cm deep.
Use a compactor to flatten the base and ensure proper drainage.
Tip: A slight slope of 1 to 2 percent helps rainwater drain more efficiently.
Step 3: Install Weed Barrier
Lay down a geotextile weed barrier fabric to prevent future weed growth.
Overlap the edges by 10 to 15 cm for complete coverage.
Step 4: Roll Out the Artificial Grass
Unroll the artificial turf and let it sit in the sun for a few hours so it can relax.
Align all turf pieces in the same pile direction for a consistent appearance.
Trim the edges carefully to fit the exact shape of your area.
Step 5: Join the Seams
Place joining tape under the seams and apply adhesive.
Press the turf pieces together carefully and allow the adhesive to cure before use.
Step 6: Secure the Grass
Fix the turf along the edges using U-pins or nails spaced every 15 to 30 cm.
Secure high-traffic areas more tightly to prevent movement.
Step 7: Brush and Infill (Optional but Recommended)
Use a stiff brush or power broom to lift the fibers.
Spread silica sand or rubber infill evenly across the surface.
Brush again to ensure the infill is properly distributed.
Pro Tips for Better Results
-
Let turf warm up in the sun before cutting for easier handling.
-
Use a sharp utility knife to trim clean edges.
-
Choose good drainage turf for pet areas and consider odor-control infill.
-
Make sure your base is compacted and sloped properly.
-
Use cold-weather adhesive if installing in cooler climates.
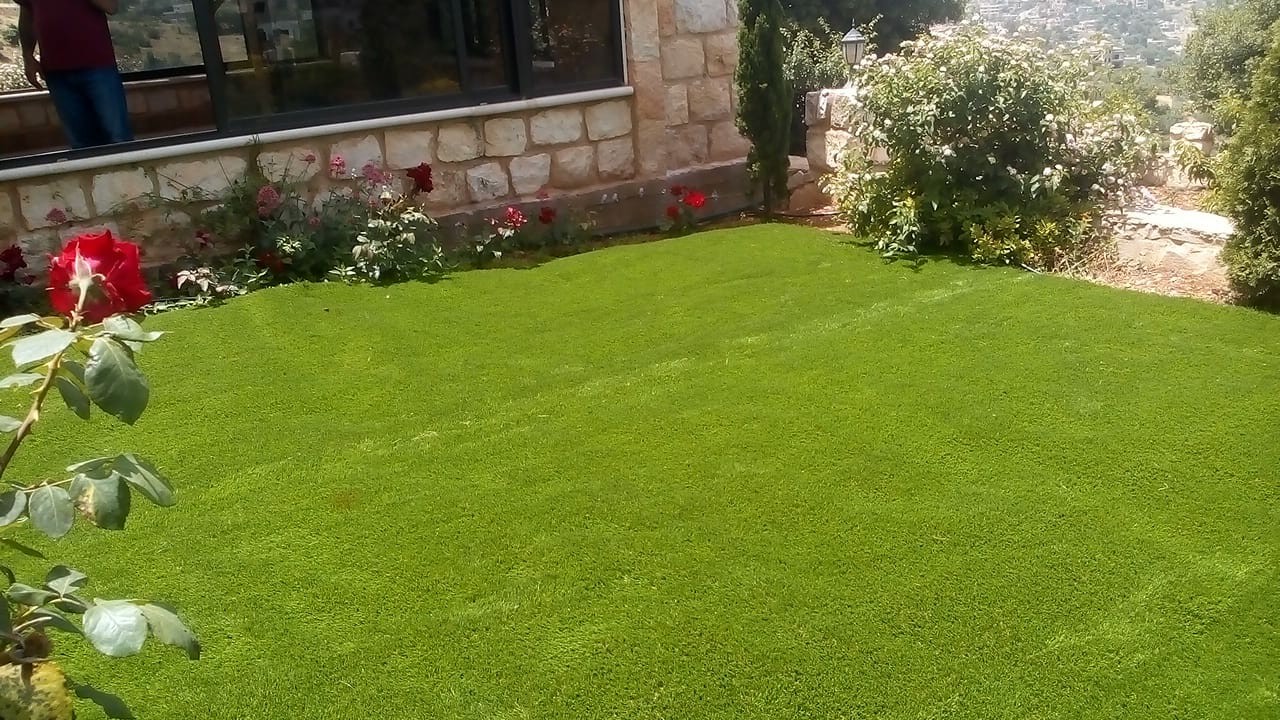
With proper installation, your artificial grass will stay clean, green, and beautiful for years to come.